Monday, December 12, 2011

Where can I purchase Cloth Diapers?

With all this information on cloth diapering I'm sure you're more than ready to get started. The cloth diaper scene is becoming quite revolutionary whether among the working class or the elite; this is an alternative you can choose for your very own reasons.


Please believe you have options when it comes to where cloth diapers can be purchased. Although convenient, it is not necessary to solely purchase your stash from large companies. There are many independent contractors who craft diapers on the same scale as the large manufacturers. It may be well worth your time and effort to purchase locally. You may find that independent contractors readily offer several options in styles and fabrics. With enough time, resources and research it is even possible to craft a custom cloth diaper stash of your own.


Visit my Etsy Shop for a package that's sure to give you a jump start on your cloth diapering journey! 

Snaps or Velcro?

So now that you're shopping around for cloth diapers you're probably beginning to notice a couple of differences among the closures. Some diapers have snaps while others offer Touch Tape or sewn hook and loop velcro. 
Most snaps are made from a polyacetal resin. A snap press is needed to apply this notion properly. When strategically placed snaps offer a decorative element with the use of coordinating or contrasting colors. You can also rest assured older babies will find it more difficult to remove this diaper themselves.


Touch tape offers many fitting choices. When either purchasing or creating diapers with this option be sure there is a laundry tab to secure the hook portion when washing.


Regardless of what you decide they are both great choices. So try one or some of each and decide from experience which you prefer.

Want to get started on cloth diapering? 

Monday, December 5, 2011

One Size Diaper

These days I serve as a rattle, bib, bottle, burp cloth, jungle gym and even a diaper on occasion. Watching my daughter grow in these short 12 months is nothing short of phenomenal and I must admit, it certainly is nice to have baby apparel that grows with a developing child. Which is why one size diapers are an ideal choice to have in your cloth diaper stash. 


The main difference when transitioning through sizes are the fits amongst the rise and the waist. The rise of a diaper is the measurement right below the belly button through the legs to the top of the bottom. This measurement naturally effects the elastic fit for the thigh. 
Most one size diapers have multi snap settings or touch tape fasteners to adjust tightness through the waist and more often than not, snap settings are seen within the rise. 
Inserts range from microfiber to terry cloth, bamboo, flannel and other absorbent materials.


The beauty of a one size diaper is that it is a constant, typically fitting from birth to potty training or about 8-35lbs.

Through personal experience one size diapers are a great crutch to have when trying to keep up with a growing baby. Not to mention you get more bang from your buck! So shop around and see what works best for you.


Not sure where to purchase cloth diapers? Visit my etsy shop!

Monday, November 28, 2011

One Year Anniversary!

Woo-Hoo! I made it! A full year of cloth diapering! It's surely been an adventurous journey.

When initially introduced to the idea I shuddered in fear. My first thoughts centered around time and work. I thought there weren't enough hours in the day to cloth diaper and on top of that it was unnecessary extra work to commit to. But, I can tell you from personal experience not only is it super simple, it is well worth it.
As previously stated I began cloth diapering my child at six weeks of age. I started as a part time cloth diaper-er only using reusable diapers 30-50% of the time. It wasn't until my baby reached three months that I decided to commit to full time, using reusable diapers more than 80%.

Since I was home for the most part my preference were Pre-folds with a waterproof PUL cover. At that point, it seemed to be the most economical choice as the cover could possibly remain clean all day.
*Wondering how to fold a pre-fold around you baby? Click here for step by step instructions*


As I started to get out of the house All-in-Two's or Pocket Fitted's became top choice. These styles allowed for a quick change and snug fit around my baby's waist and thighs so I didn't have to worry about those dreaded blow outs. When it came to traveling with cloth diapers I found it fairly easy to manage a quick change, even with the poo diapers. As my little one soiled the diaper I used homemade solutions to spray on and store in the wet bag until I reached home to perform the pre-rinse. As I continued using cloth diapers it became easier and easier to incorporate them into my everyday life.


I made a conscious choice to commit to cloth diapers not only for the health of my wallet, but, more importantly my child. It may be said disposables are the best fit, but, I encourage you to research how disposable diapers are manufactured and the possible effects associated with their use. If you're not sure what to research please click here for some information.

Cloth diapering can be a challenging thought, but, rest assured time gets easier with their use. 

If you're looking for a jump start on cloth diapering without the initial financial commitment enter our New Year Raffle Giveaway! You could win 3 One Size Diapers!

Monday, November 21, 2011

How to Fold a Prefold

A Pre-fold merely suggests absorbency layers pre-folded into a diaper. The following will give you step by step instructions accompanied with pictures to help you successfully pin this style diaper around your baby's bottom.


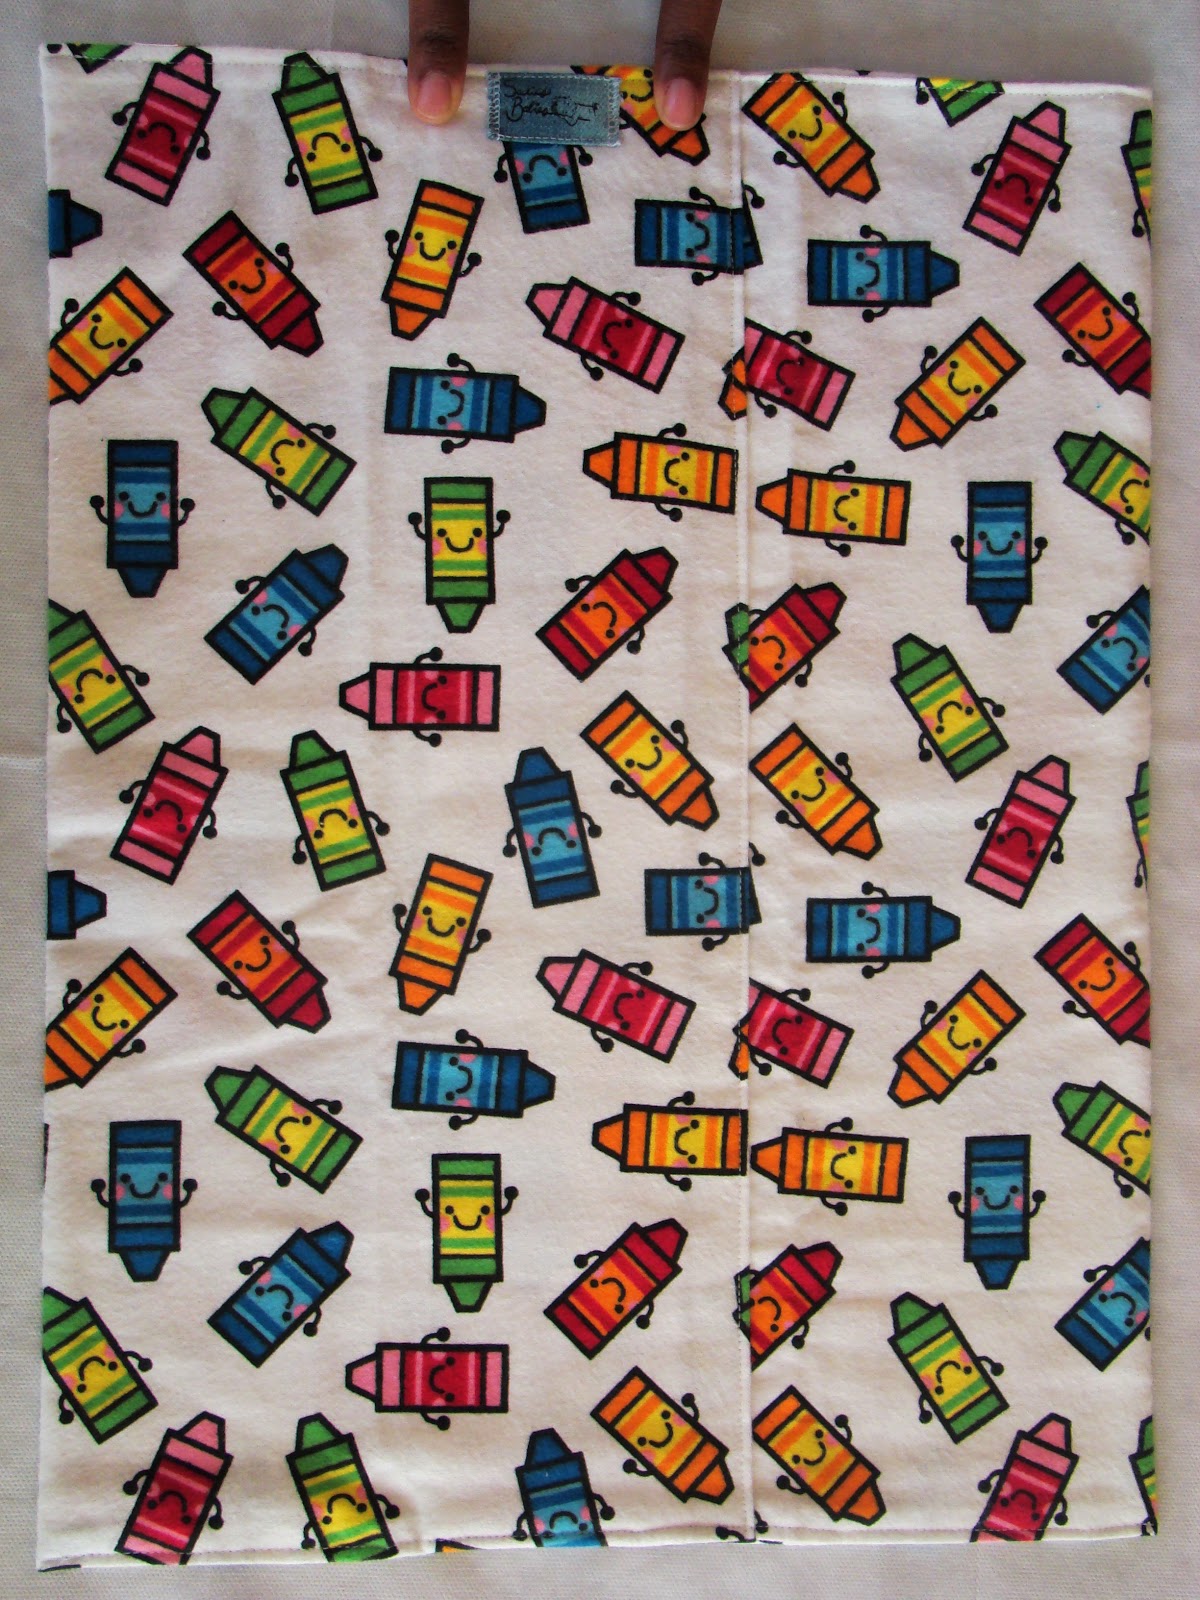
Your Sadie's Babies flat/pre-fold comes with a tag located at the center back. This tag should face out when folding the diaper around your baby's bottom.


Newborn (NB)/Small Fold:
 Flip the flat over so the tag faces down
On the opposite side, fold the fabric down about 3 inches


Along each long edge fold the fabric inward to meet the parallel center stitches


Lay your baby down so the upper edge sits right below the waistline


Bring the corners of the lower edge together...


and pull through the baby's legs opening the corners out. The pre-fold should rest right below the bellybutton. If not, fold the bottom side of the fabric down more.


*You may have to tuck the fabric in at the crotch area so it is not too bulky*


Reach behind and open out the back wings (previously folded corner)


Lay the front tabs down following the contour of the baby's waistline.
Wrap the back wing around and hold in place.


Using your forefinger and middle finger insert them inside the diaper to serve as the barrier between the baby's skin and the safety pin. 


Pulling slightly upward, pin the outer and inner layers of the diaper together.


Repeat on the other side to complete.


Don't forget your waterproof cover.


With practice this will be a breeze!


Sunday, November 6, 2011

Why Should I Choose Cloth?

There's a lot  more to cloth diapering than it just looking ultra cute on your baby's bottom. For one, think of all the money saved not only from your wallet, but, the environment as well. 
Inclusive, there are a number of health benefits associated with cloth diapering. 

Did you know disposable diapers contain:
  • Traces of Dioxin, an extremely toxic by product of the paper bleaching process. The Environmental Protection Agency (EPA) lists this carcinogenic chemical as the most toxic of all cancer linked chemicals. Dioxin is banned in most countries although not the U.S.
  • Sodium Polyacrylate a super absorbent polymer that increases the risk and growth of toxin producing bacteria. This is the gel that forms when the baby soils the diaper.
  • Tributyl-tin (TBT), a toxic pollutant well known to cause harmful effects on the hormonal, immune and nervous systems in mammals and aquatic life. Even in the smallest concentrations it can impair the liver and interfere with sexual development.
As well, the prolonged use of disposables on boys greatly increases scrotal temperature; either blunting or completely abolishing the natural cooling mechanism for testicles important for sperm growth (spermatogenesis.)- Archives of Disease in Childhood, May 2000
 

On the environmental side, disposables generate 50% of household waste. Though it is not completely known, it is estimated it takes 250-500 years for a disposable diaper to decompose. 


Now I'm not totally knocking disposables, they have their advantages. The most popular of which is convenience. Disposable diapers can be purchased at almost any retail store and yes when it comes down to it, it is easier to just toss the disposable in the trash. 

If concerns arise with the aforementioned facts, look into alternative choices of disposable diapers such as; the chlorine free, fragrance and latex free eco-friendly brands (7th Generation).


All in all, the decision to use cloth diapers rests with the parents.


References: 
 Dioxin, World Health Organization
 Sodium Polyacrylate, ChemistryExplained.com
 Tributyl-tin (TBT), ScienceDaily.com

How Do I Take Care of Cloth Diapers?

There are several ways to care for cloth diapers and it all depends on what works best for you. Here I'll expound on the 2 forms I've tried and which I like best.
Generally when washing cloth diapers you want to use an oxygenated soap like Dr. Bonners, Sun Detergent or 7th Generation. These soaps aid in releasing possible set in stains. Additionally, ALWAYS ALWAYS ALWAYS  dump solids into the toilet before beginning the wash routine.
Some tools I find helpful and certainly handy are:
  • 2.5 Gallon ( or larger) Bucket
  • Bowl/Large Cup/Small Pail
  • Washboard
  • Latex Gloves
  • Stain Remover
  • Dr. Bonner's Soap (used for pre-wash)
When washing your diapers in the washer use cold water and remove inserts. Pour in 1/4 of the recommended amount of detergent along with some baking soda and my personal fave 2-3 drops of tea tree and/or lavender essential oils. Once your wash and rinse cycle are complete perform an extra rinse. Some washers give you the option of an extra cycle; if yours allows for this KUDOS no need to run back to the laundry room. Upon full completion, either toss them in the dryer or hang to dry. Allowing your diapers to dry outside where the sun can hit them is a wonderful option. The sun acts as an antibacterial agent along with a stain releaser for those stubborn spots.
**IMPORTANT** Do not use fabric softener or dryer sheets when drying your diapers. This will shorten the life and decrease absorbency.
Now, on to the soaking/prewash methods...

First is the soaking method. Fill a bucket, diaper pail etc with lukewarm water and toss your diapers in until it's time for the wash (remember to dump those solids.) When the time comes, pour everything including the water into the washing machine. Start with the spin cycle and allow the water to spin out before beginning the regular wash routine.
Although this method is the least hands on, there is an odor build up, so, you'll want to change the water everyday to every two days because odds are the odors will set into your diapers. Baking soda can also be used to absorb possible odors.
Second is the dry method, which I prefer. When my daughter soils her diaper I fill the bucket with just enough hot water to begin a pre-wash and rinse. I then add a drop of soap to the water and repeatedly dunk the diaper in and out. For "poo" diapers I add a little bit of Dr. Bonner's soap to the blemished areas, work it into a lather and use the washboard to get the rest out. If you don't have a washboard simply perform a handwash. Thoroughly rinse the diaper, ring it out and store in your pail until time for the wash.
With consistency, you'll begin to notice washing your diapers and keeping them in rotation is a feasible feat.

How Many do I Really Need?

Now that you know what cloth diapering is all about let's get down to the nitty gritty of the quantity needed.


The top two questions I'm always asked are:
"How many diapers do I really need?" and "Do you have to change the baby more often with cloth diapers?"
Naturally, there are varying responses to each question because it depends on whether you will commit to full or part time cloth diapering. 

**One should also keep in mind it is recommended to change newborns (0-3 months) every 1-2 hours and 4 months and older every 3-4 hours.**

To find out how to keep cloth diapers in rotation click here.

If you anticipate using cloth diapers full time expect to have 3 dozen or more assorted varieties. This allots for washing every third day.
It is estimated newborns go through 8-12 diapers in a day and older babies 6-8.
Given a dozen diapers a day seems like a lot of changes, but, you'll always want to account for the "just in case." Like when your baby goes potty just as you're getting the clean diaper under his/her bottom (Trust it has happened to me) OR the moments where they'll soil the diaper as soon as you take them off the changing table (yep this too.)
For part time cloth diapering you can easily cut your stash in half to about 1.5 dozen.
Try different varieties of cloth diaper styles and routines to find your best fit!

Sunday, September 4, 2011

What Does the Jargon Mean?

So we've already gotten started on cloth diapers and how convenient and comfortable they can be, but, what does the jargon really mean?

Here, I'll break down the names of each cloth diaper and how they are used.
First up you have your ol' school
  1. Flats/Prefolds: These are the flat white cloths Mommy's used back in the day, held with safety pins. As with all fabrics, these can be purchased as organic/inorganic, bleached/unbleached etc. With these a waterproof (WP) cover is needed.
  2. Contour Flat/Prefolds: Contours are the same as the above with the exception of it being cut in an hourglass or "V" format to allow a better fit through the crotch area with extra freedom to kick those chubby little legs. A WP cover is needed.
  3. Fitted Diaper: This is your cloth diaper with elastic divisions in the legs and waist. The absorbency layers are sewn into the diaper so extra absorbency isn't necessary, although, parents may choose to add more. A WP cover is needed.
  4. Pocket Fitted Diaper: This diaper maintains elastic divisions in the legs and waist. At the back of the diaper a pocket is featured to add as many or little absorbency layers as you please. A WP cover is needed.
  5. PUL/WP Cover: A waterproof cover is commonly made with a fabric called polyurethane laminate (PUL). Fleece may also be used to act as a WP cover. This layer is needed with diapers when it is not a part of the diaper itself. 
  6. All in Two (AI2): This diaper is similar to the pocket fitted diaper except the PUL/WP layer is a part of the diaper.
  7. All in One (AIO): The AIO is just that, a diaper with all the components combined. The absorbency layers, WP layers, elastic divisions, etc. all come in one diaper. Parents can choose to add absorbency layers next to the baby's skin, although, microfiber is not recommended. This style does take longer to dry.
  8. Boosters/Lay in Soakers: These are simply absorbency layers. Typically seen with pocket diapers or AI2's. These layers can be inserted or snapped in depending on the make and style of each individual diaper.
  9. Wet Bags: A storage bag used to store soiled diapers and other wet garments. Typically made from PUL fabric.
Those are the main components that make up cloth diapering. Once you get into it you'll find the fit and style that work best with you and your bundle of joy!

Now that you're geared up with some of the facts, the burning question is... How many do I really need?
Click here to find out more!


"Take it from a 1st time; full time Mom!"


Cloth Diapering is Super Simple!

In this day and time cloth diapering is super simple. There's no need to fold and pin fabric around your little one's bottom. With a plethora of styles available it is now convenient to cloth diaper your child from birth to potty training.

From the bulk diaper manufacturers to homemade cloth diapers there really is no right or wrong way to go about it.

I've been cloth diapering my 8 month old since six weeks of age and I must admit I truly LOVE IT! 
In my stash, I have a mixture of prefolds to All-in-Two's totaling about 4 dozen diapers. The reason for the large amount is
                            #1: I make them
                     #2:  I consider myself to be a full time (1st time) cloth diaper-er; only using disposables perhaps 10% of the time. 

Not only is it convenient to cloth diaper it is affordable as well. The total cost of diapering one child for two years using disposable diapers is approximately $3,469.92  (this includes use of disposable wipes). So let's round up to $3500. This cost breaks down to an average of $1200-$1500 per year, which is $100-$125 per month.
The cost of a cloth diaper stash for two years can realistically run anywhere from $300-$800 depending on the style and quantity. Washing cloth diapers everyday for two years will approximately cost $227.76!

I know being introduced to this world can be overwhelming, but, no worries, I'll take you step by step through the benefits cloth diapering.

Just click here to see what all the cloth diapering jargon really means.

"Take it from a 1st time; full time Mom!"